How To Use Android Phone Camera as Webcam for PC
Requirements
- IP camera Adapter.
- IP Webcam Application.
- Chrome Or Firefox Browser.
Steps To Use Android Mobile Phone As Webcam
Step 1. First of all install, the downloaded IP Webcam application on your Android mobile phone. Also, install the IP Camera Adapter on your PC.
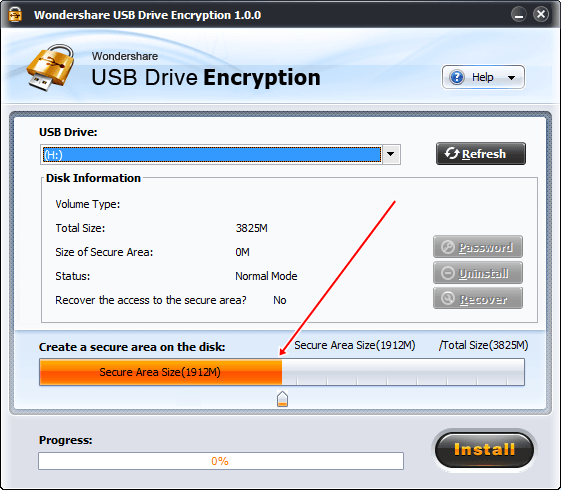
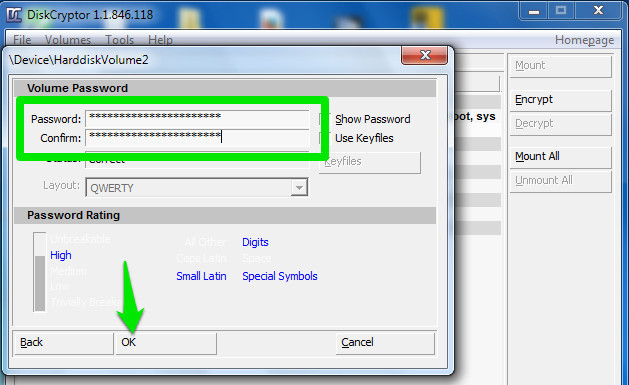
Step 2. Now open the installed IP Camera app
on your phone and you will see many options like username, password,
screen resolution and much more which you can adjust according to your
choice. Now after doing so just click on the Start Server.

Note: This
app uses back camera as default for better quality but you can also
change camera mode to front but it will reduce your video quality.
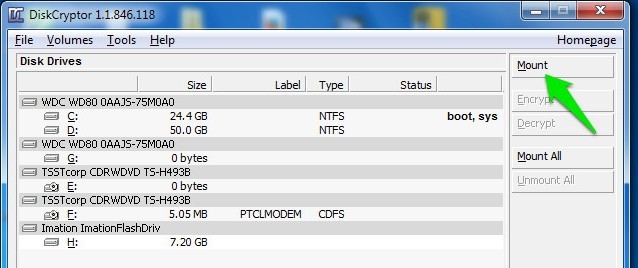
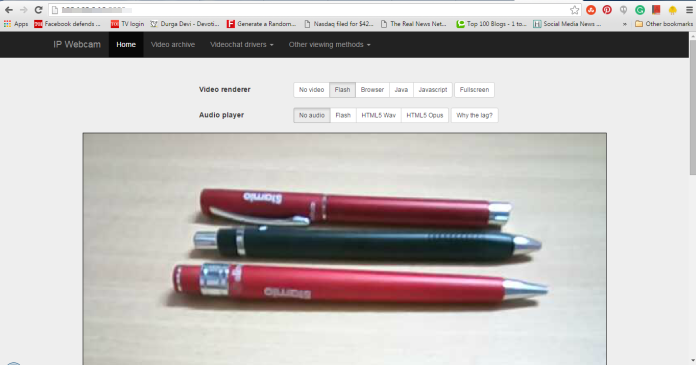
Step 3. Now when you
click on the start server then following that you will see an IP at the
bottom of mobile’s screen. Now open this IP in your mobile’s Chrome or
Firefox browser. If none of this browser is installed on your Android
mobile and select Browser built-in viewer option.
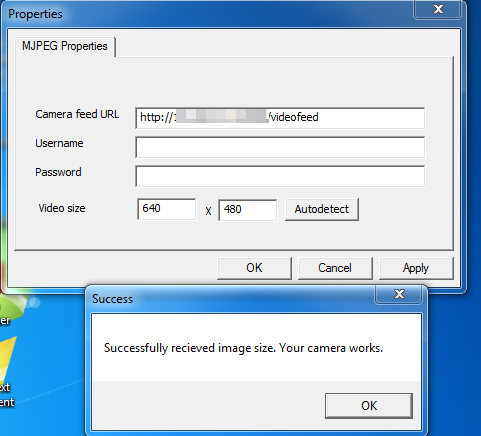
Step 4. Now open and install the downloaded IP camera adapter on your PC. Now in the “Camera feed URL” just enter your IP and port which you got from the app you installed on your phone and remember don’t delete /video feed and then click on Autodetect.
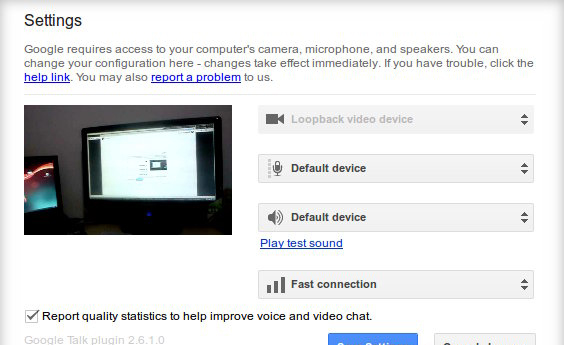
That’s it ! you are done. Open any video
conferencing application on your PC like Skype, Facebook messenger,
Yahoo messenger and you will see the video streaming on your PC from
your android mobile phone.
Method 2. Using Android Camera as Webcam through USB
You can use your Android as webcam even
without WiFi. All you need to do is just to enable the USB debugging
mode on your Android smartphone. Let’s know how to do it.
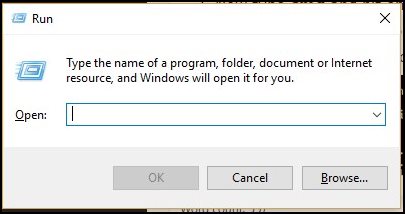
Step 1. First of all,
you need to enable the debugging mode on your Android device (Settings
> Apps> Developer options> USB debugging)

Step 2. Now you need to download and install DroidCam from Google Play store on your Android device.

Step 3. Now connect
your phone to your computer via USB and then let your computer install
the required drivers in the PC ( You can manually install OEM drivers by
clicking on this link)
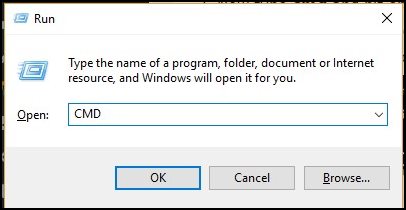
Step 4. Now you need to download and install the Dev47apps client on your Windows PC.

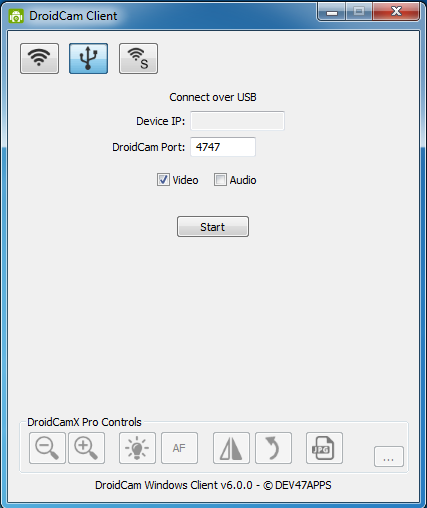
Step 5. After installing the client, you will get to see the screen like below.
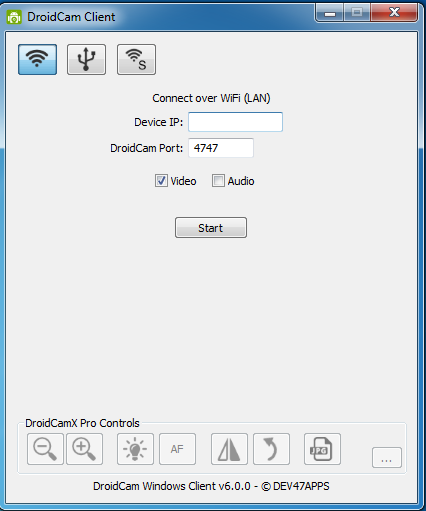
Step 6. Now simply select the “USB” icon just behind the Wifi in your windows client and then click on “Start”.
That’s it ! If everything went right,
you will get to see the camera of your Android device on your PC and you
can use it as a webcam too. You can even visit Droid47apps connect page to know more about it.